A Complete Guide to Using FTP for File Transfers to Kamatera Servers
FTP is used to establish connection and exchange information between a computer and a server, or any two devices connected in a network. For this, we need an FTP port or the endpoint which can be used to initiate or process data transfer.
This article discusses how to setup an FTP server. Your Kamatera servers can also be used to host other more secure options like SFTP (SSH File Transfer Protocol). We’ll be explaining how to enable your FTP service using a remote connection, how to install your FTP client application, and then how to enable and verify it on your Kamatera server. Inbuilt FTP services are used to facilitate the connection. This is to ensure that the computer acts as an FTP server with the dedicated local static IP address.
In order to begin using FTP on Kamatera Windows Server, you need these two things:
An FTP Client: Use any FTP client application such as FileZilla, WinSCP, etc.
An FTP Server: You can use your Kamatera cloud server for establishing a FTP connection. Keep your credentials (username, password, hostname/IP) handy.
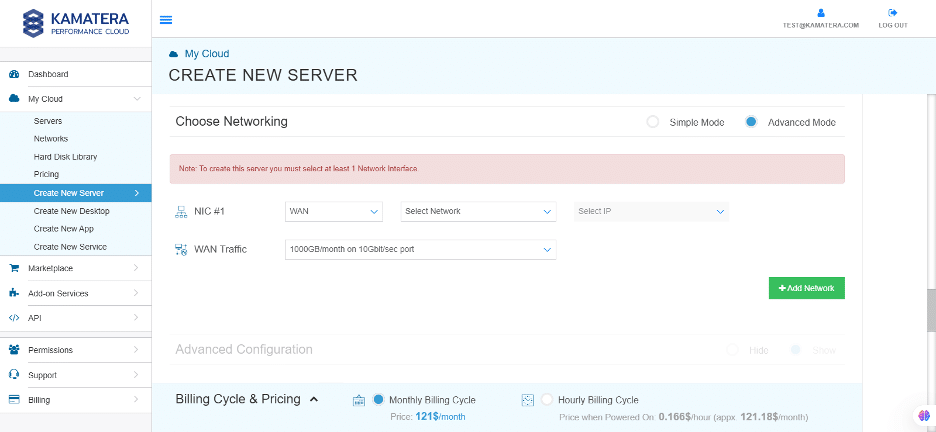
How to Set Up Your FTP with Kamatera
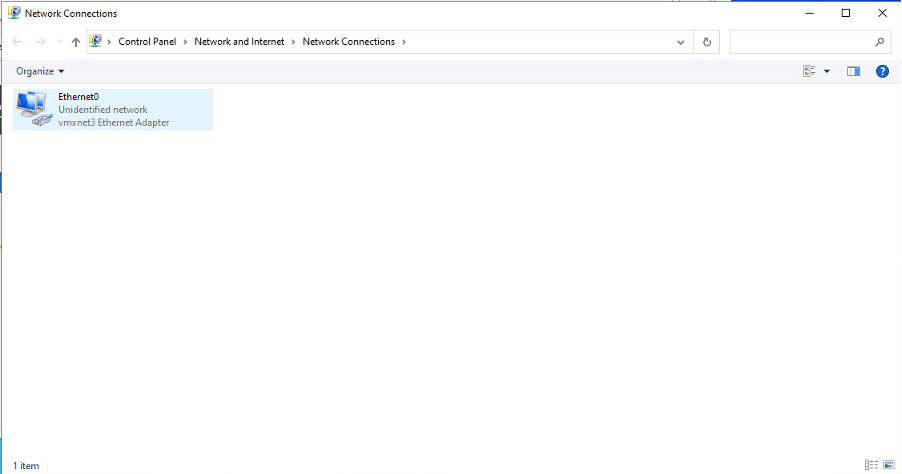
Search Network in your windows search and open Networks, Computers, and Devices section under Control Panel.
Click on View network computers and devices, and a new screen will open, as shown below. Right click on Ethernet.
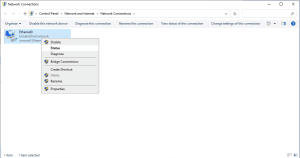
Right click your Ethernet0 and select Properties.
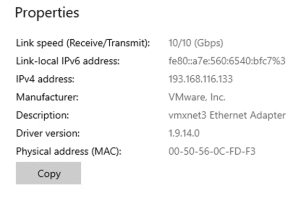
We must update domain server settings and make the intended IP settings permanent for configuring FTP.
Note down the IP addresses and update them in the Ethernet properties.
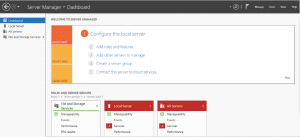
Next, open Server Manager, navigate to the dashboard, and click Add roles and features.
Proceed with the installation of IIS based FTP service. Click Next to continue.
Select the installation type from the following:
Role-based or feature-based installation
Remote Desktop Services installation
Make the Server Selection and click Next to continue.
Assign the Server roles here. For FTP server, choose Web Server (IIS) and the FTP Server.
Select the features to be installed on the server. Click Next to continue.
Confirm installation selections in this section. This step verifies that all the selections made in previous steps are true, to your understanding. Click Install to continue. The results will display the desired server being installed and its progress.
Meanwhile, designate your FTP folder and place all the files to be shared, here:
Enter the details required for creating an FTP site.
Click on Next.
FTP Site Configuration Steps
Select the IP Address
From the drop-down menu, choose the appropriate IP address for the FTP site.
Start FTP Site Automatically
Check the box labeled Start FTP site automatically.
SSL Configuration
Select the No SSL radio button.
Proceed
Click Next to continue.
Authentication Section
Under the authentication section, select the Basic checkbox.
Authentication Types
Anonymous: This option requires clients to log in with a username and password.
Basic: This option requires clients to log in with an account.
In the Authorization Section
From the drop-down menu, select the access level to be granted to users.
Choose the permissions for the selected users:
Read
Write
This will ensure the specified users have the appropriate level of access to the resources.
Click on Finish.
The FTP server will go online whenever the computer is powered on and connected to the network.
File Management on Kamatera
Once FTP is set up on your Kamatera server for important data sharing, the following actions can be performed:
Uploading: Locate the files you want to upload from your local machine which can be seen on the left pane to the desired directory on the server.
Downloading: Locate the files you want to download from the server which can be seen on the right pane to your local machine.
Deletion: Locate the files you want to delete from the server.
Disabling FTP Connection
The stopping of FTP based data sharing by disconnecting the FTP Client from server is as important as establishing connection, so that there are no discrepancies or unintended data theft. Therefore, use the disconnect option available in your FTP client once the transfers are complete.