


MySQL is an open-source Relational Database Management System (RDBMS). It stores, manages, and retrieves data using Structured Query Language (SQL). MySQL stores data in rows and columns in tables. Applications connect to a database server for data operations, and it supports complex queries and transactions.
Managing MySQL databases efficiently is crucial for ensuring optimal performance, security, and scalability. In this guide, we will set up a Windows server on Kamatera, and then learn the key aspects of managing MySQL databases on Windows Server, including installation, and configuration.
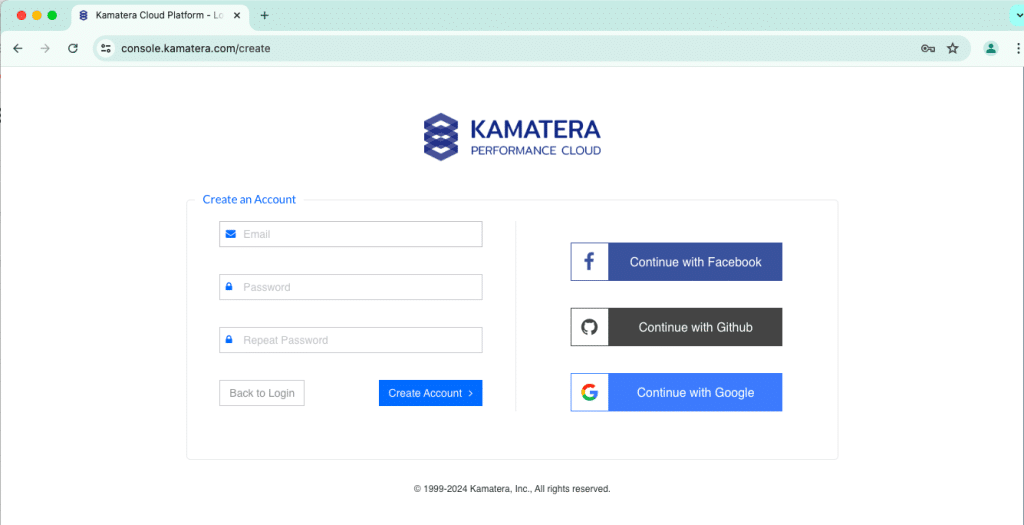
First, create a Kamatera account:
Go to console.kamatera.com and sign up for an account by providing the following information:
- Verify Your Email: Click the verification link sent to your email by Kamatera.
- Password: Enter your password.
- Repeat Password: Re-enter your password and click Create Account.
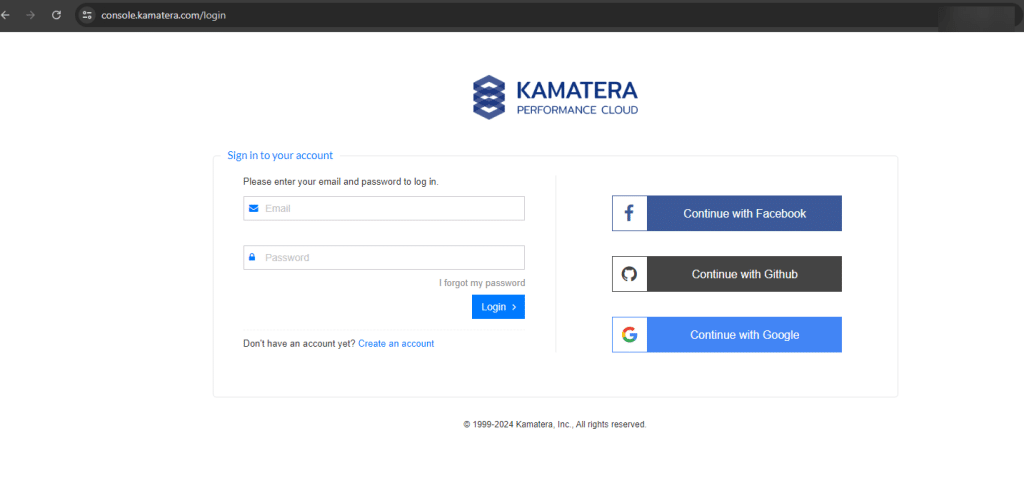
Enter your credentials to access the Kamatera management console and Click Login.
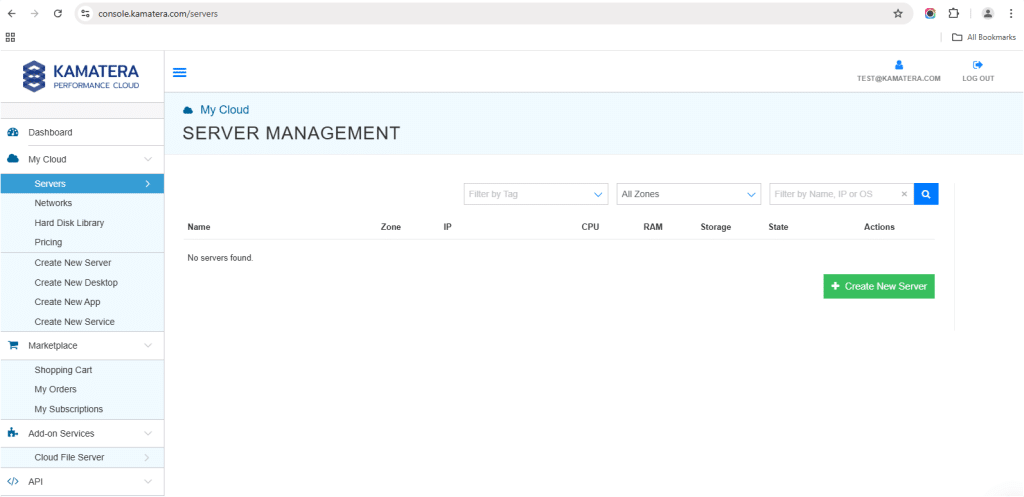
Navigate to My Cloud on the left-hand side and select Servers.
On the left-hand side navigation menu, click on Create New Server or use the Create New Server option on the right-hand side.
Choose Zone
Choose the zone that works best for you.
- Asia
- North America
- Europe
- Middle East
Depending on the zone you select, the available countries will be displayed.
Use case: For this setup, we used the Asia server domain to set up the Windows Server.
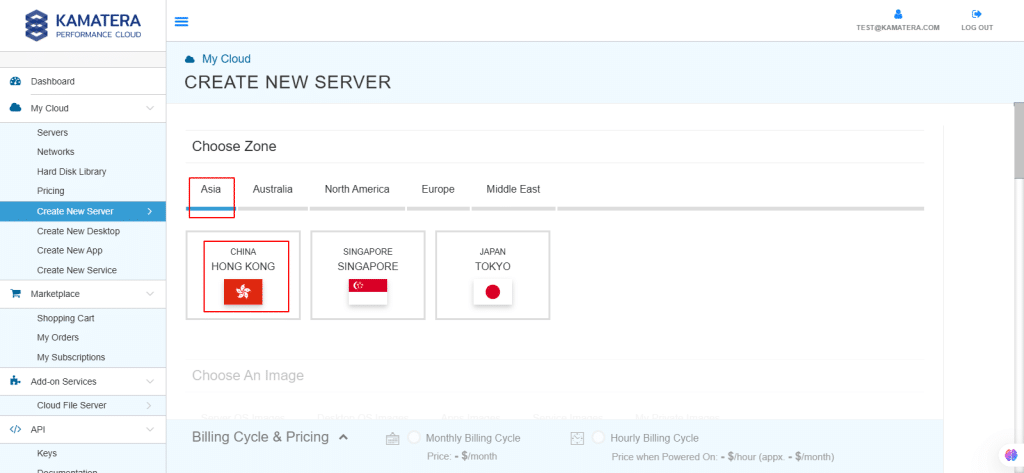
- Choose An Image
Kamatera offers a variety of App and Server Images to help users set up preconfigured resources. Users can explore options such as
- Server OS Images
- Desktop OS Images
- App Images
- Service Images
- My Private Images
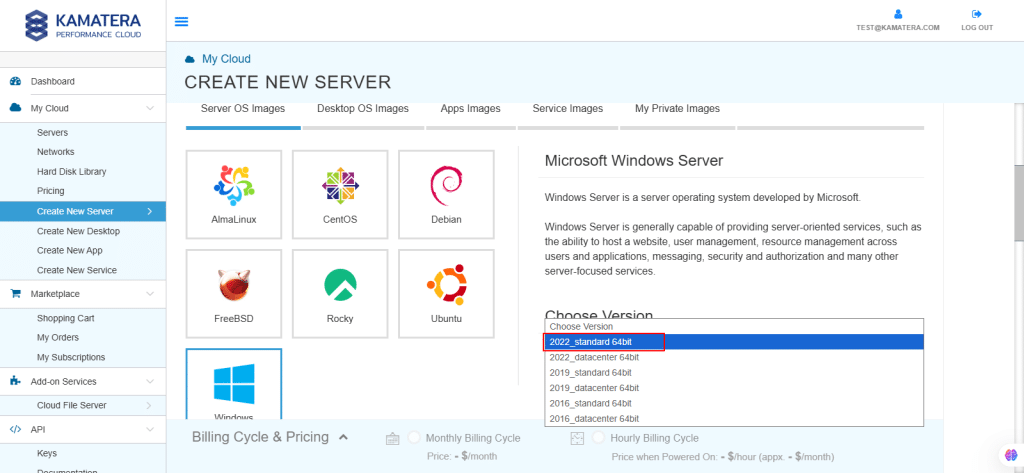
Choose Server OS Images and select Windows Server.
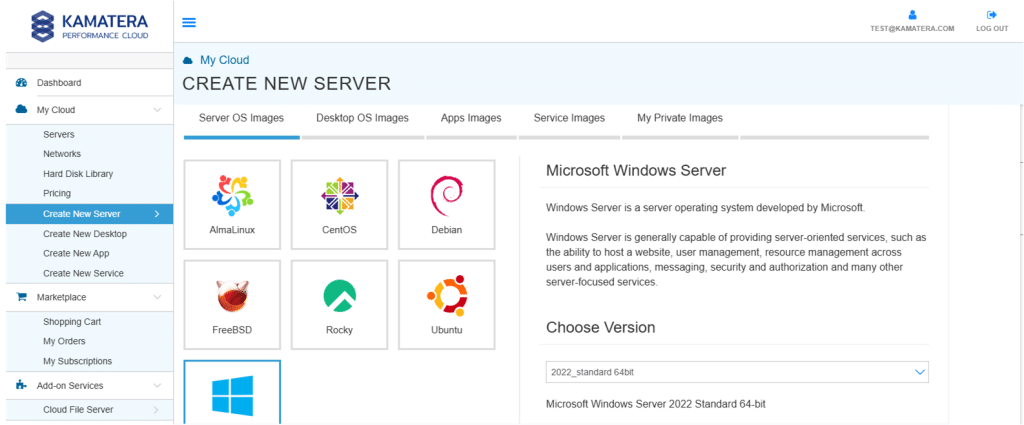
In Choose Version, select the latest version of Microsoft Windows Server (2022_standard 64-bit).
Upon selecting the version, the License prices are displayed.
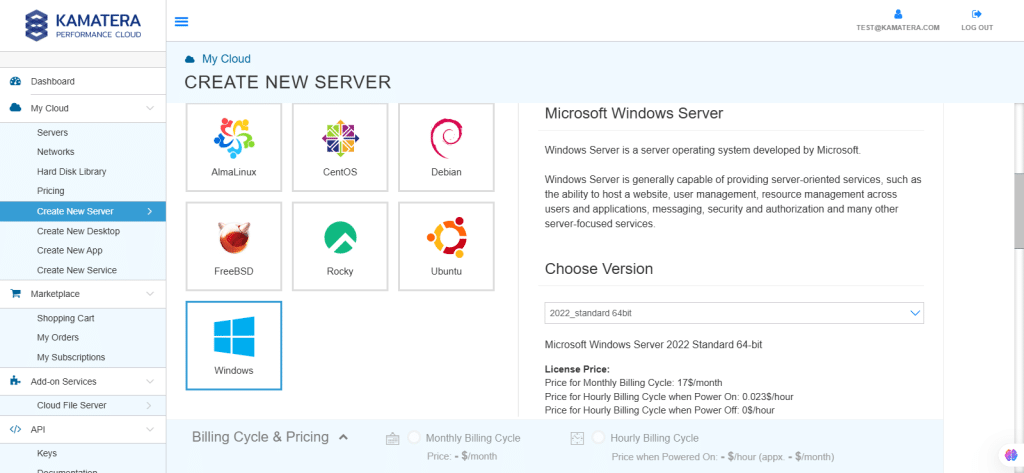
Toggle the Detailed view button enable to view the detailed description, including the price.
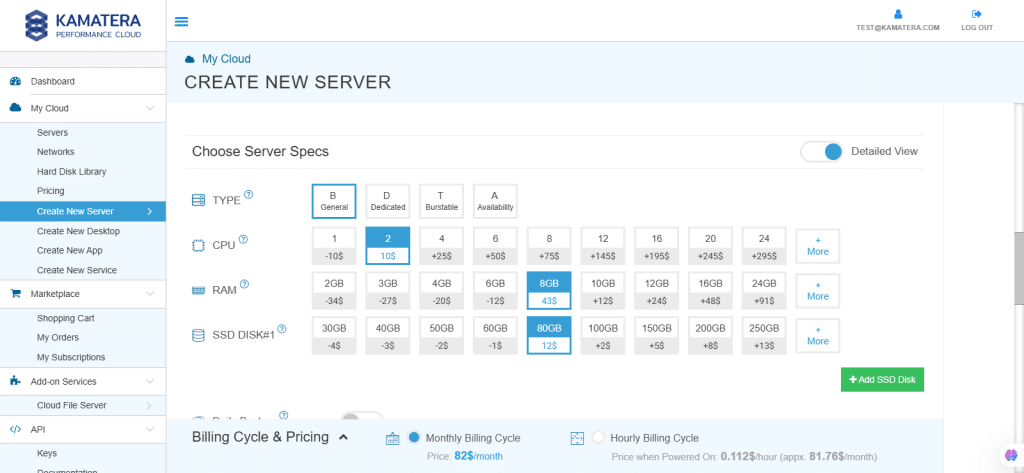
We’ve chosen the server specifications we need for our use case. You can configure it however you like.
| Field | Description |
| Type | Type B-General Purpose– Server CPU are assigned to a dedicated physical CPU thread with reserved resources guaranteed.
Type D–Dedicated – –Server CPU are assigned to a dedicated physical CPU Core (2 threads) with reserved resources guaranteed. Type T – Burst – Server CPU are assigned to a dedicated physical CPU thread with reserved resources guaranteed. Exceeding an average usage of 10% will be extra charged for CPUs usage consumption. Type A-Availability- Server CPUs are assigned to a non-dedicated physical CPU thread with no resources guaranteed. Note: More information on CPU types is available on the My Cloud- Pricing page. |
| CPU | Choose the number of vCPUs that will be installed on the server. Type B/T can be configured with upto 104 vCPUs per server. Based on Intel’s latest Xeon Processors, 2.7 GHz+. |
| RAM | Choose the amount of RAM that will be installed on the server. Type B/T/D can be configured with upto 512GB RAM per server. |
| NVMe SSD DISK | Choose NVMe SSD storage size. You can add up to 15 NVMe SSD Disk. NVMe SSD Storage includes unlimited IOPS and unlimited storage bandwidth, free of charge. |
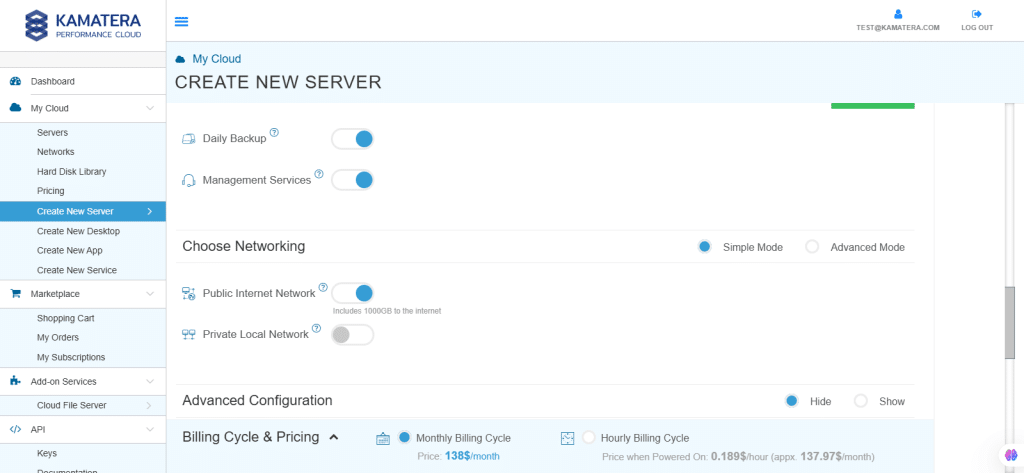
| Daily Backup | Toggle the switch to enable extended daily backups of your server’s storage to external backup storage. |
| Management Services | Toggle the switch to enable Management Services to the server’s operating system by Kamatera Technical Support Team. |
Choose Networking
Users can select the network they wish to use, whether it’s a public Internet network or a private local network.
Simple Mode
| Field | Description |
| Public Internet Network | Check to connect the server to a network interface connected to Public Internet Network. |
| Private Local Network | Check to connect the server to a network interface connected to Private Local Network. |
Advanced Mode

| Field | Description |
| NIC #1 | Select WAN from the options available in the drop-down menu.
Select auto from the options available in the drop-down menu.
Select auto from the options available in the drop-down menu.
|
| WAN Traffic | Select 5000 GB per month/ on 10 Gbit per second port. |
Advanced configuration
Hide to hide the advanced configuration.
Show to see the advanced configuration.
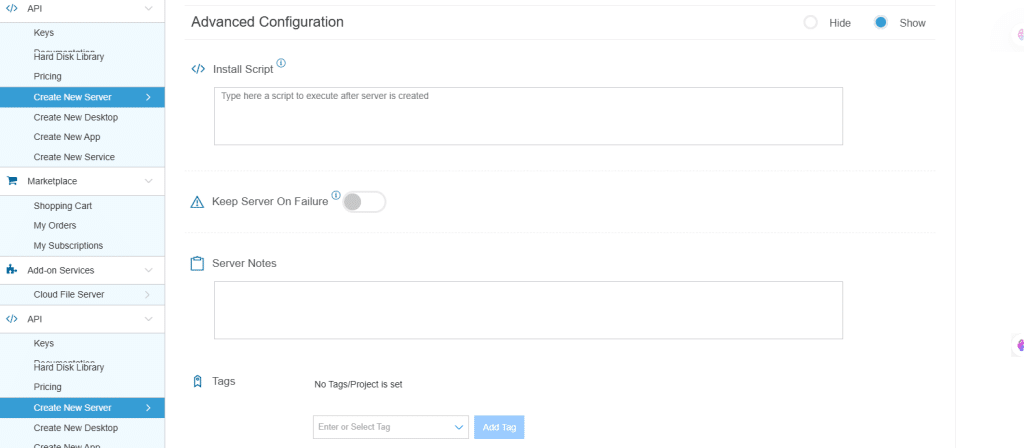
| Field | Description |
| Install Script | Enter the script here to execute once the server is created.
Note:For Windows system use Power Shell. |
| Keep Server On Failure | Do not terminate server if Start up Script or Provisioning Fails |
| Server Notes | Enter any server notes to be noted. |
| Tags | Select the Tags from the drop-down menu and click Add. |
Finalize Settings
Finalize settings by setting the password, re-validating it, selecting the number of servers, specifying the server name, and enabling the Power On Servers option.
| Field | Description |
| Password | Select password
Password allowed characters: a-z, A-Z,0-9 !@#$^&*()~ and must need the following requirements:
|
| Validate | Re-enter the password to validate. |
| Servers | Select the number of servers the user wants. |
| Name # 1 | Enter the name of the server. |
| Power On Servers | Switch on the toggle button to see the details |
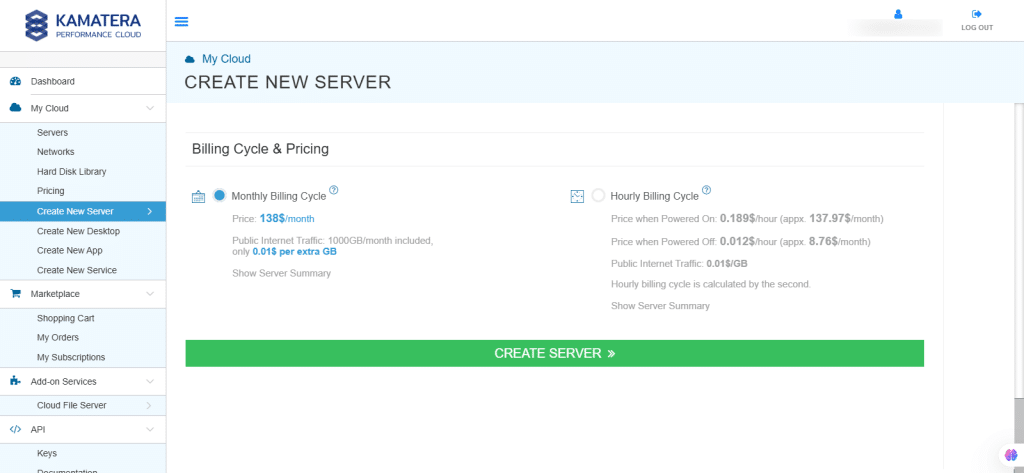
Billing Cycle and Pricing
The user can choose between the Monthly Billing Cycle and Hourly Billing Cycle.
Note: The Server Summary displays the location, operating system (including server specifications), add-on services, servers, and pricing.
Click Create Server.
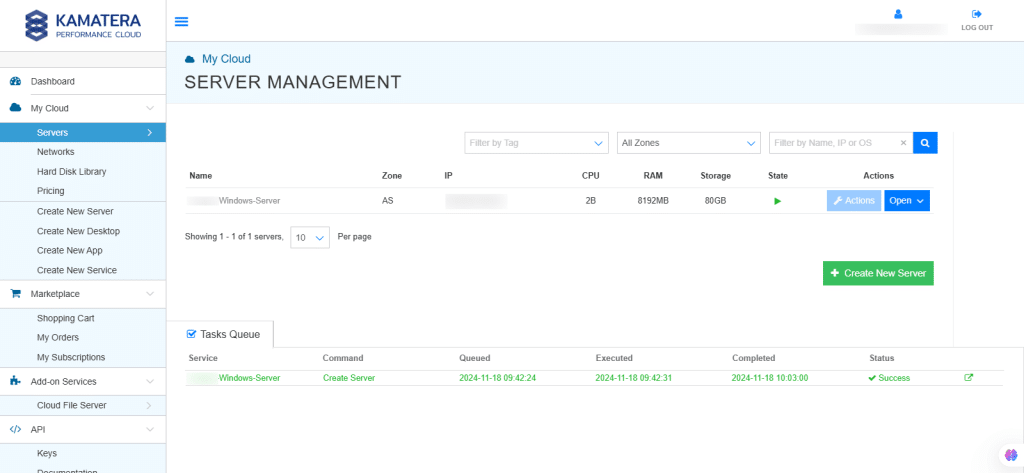
Click on Tasks Queue to see the progress of installation of Windows Server.
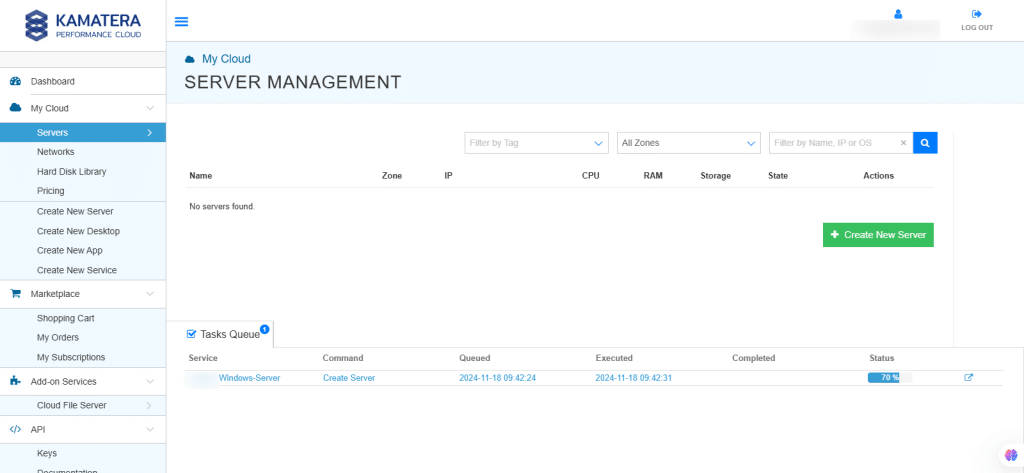
The server will be created and will appear on the Server Management screen. Once the server is created, click Open.
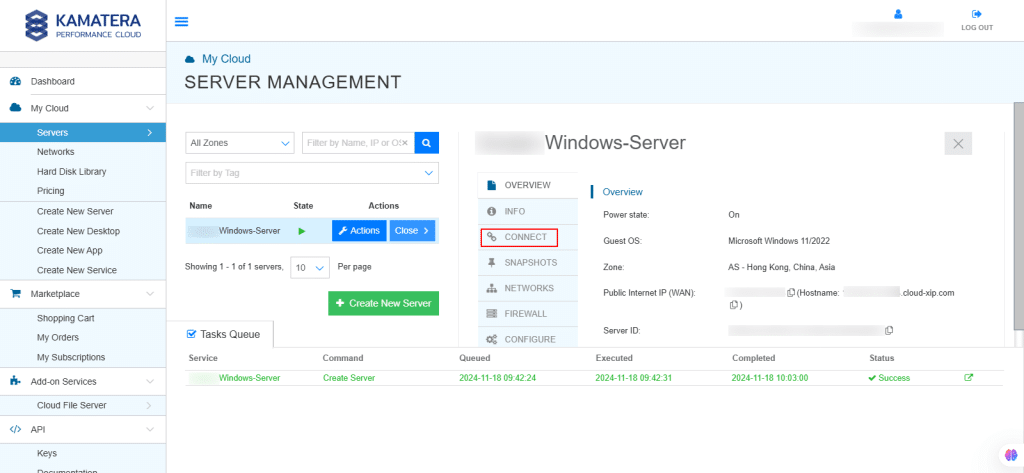
A new screen shows up. Overview tab in the center is selected by default and it displays information like Power state, Guest OS, Zone, Public Internet (WAN), Server ID of the server and Configuration-Number of CPU. Memory Size, Disk 1.
Click on Connect to connect to Windows Server.
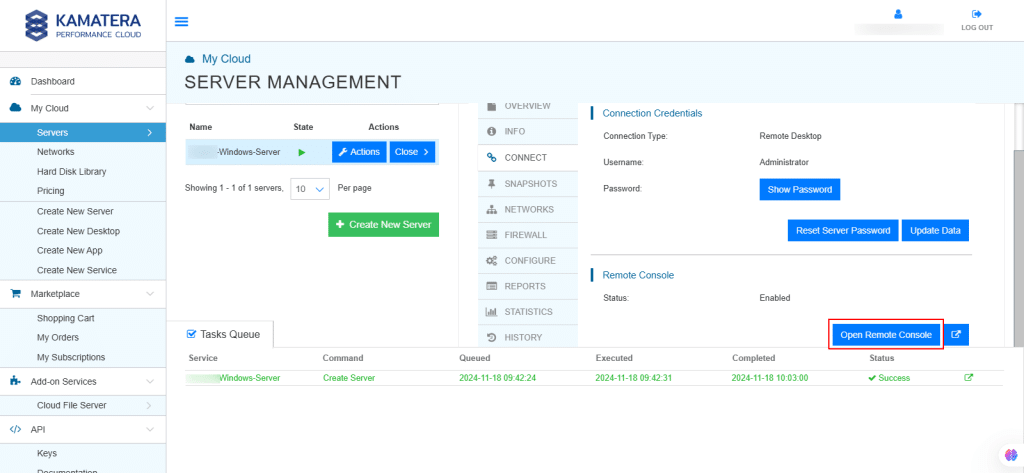
Connection credentials like Connection Type, Username, and Password are shown. Now, click on Open Remote Console.
A new tab opens, connecting to the new server and displaying the Server Manager Dashboard.
Install MySQL on Windows Server
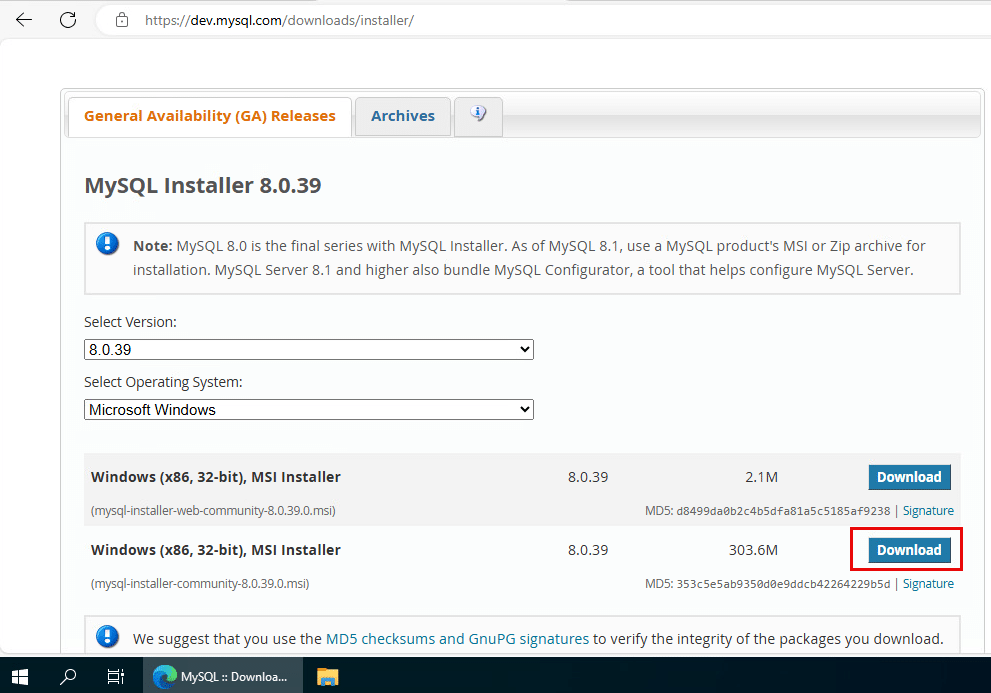
Click on https://dev.mysql.com/downloads/installer in your browser, and click on Download next to Windows (x86, 32-bit), MSI Installer (mysql-installer-community-8.0.39.0.msi)- this works for 64-bit also.
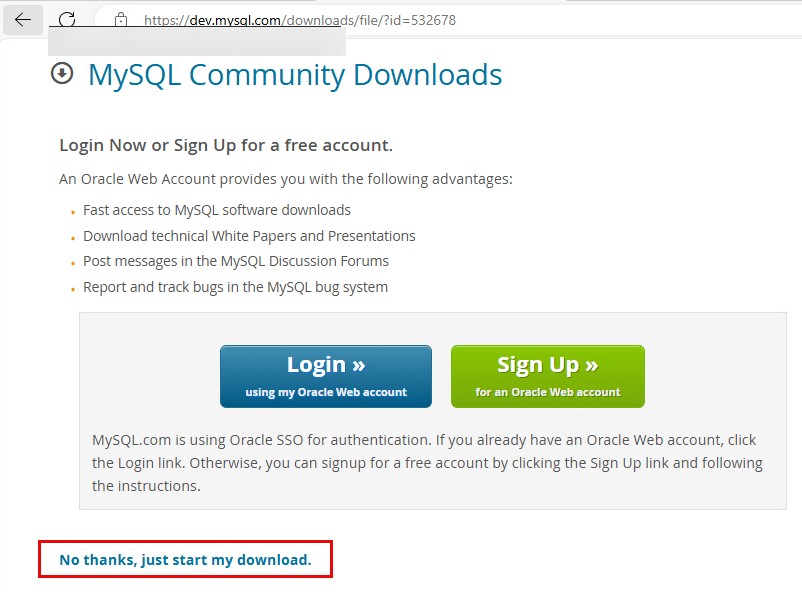
A new window will opens. Click on No thanks, just start my download to start downloading MySQL.
On the right-hand corner, click on Open file under Downloads.

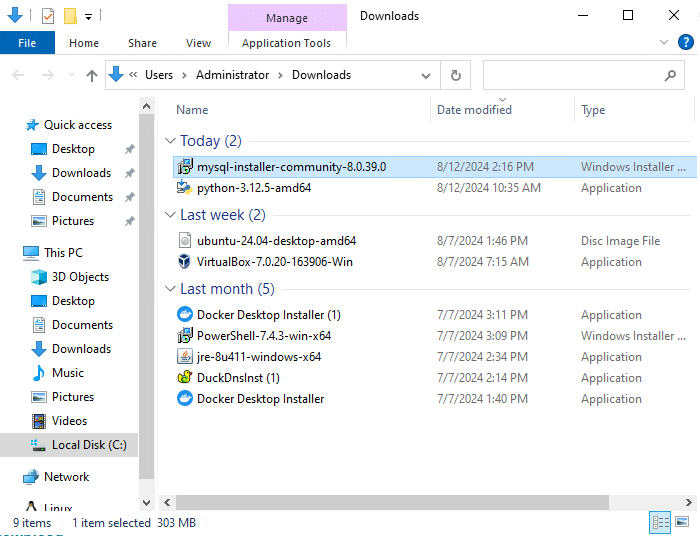
Or, click on a folder icon and double-click on mysql-installer-community-8.0.39.0 to start the installation.
Your MySQL Installer set-up wizard will open.
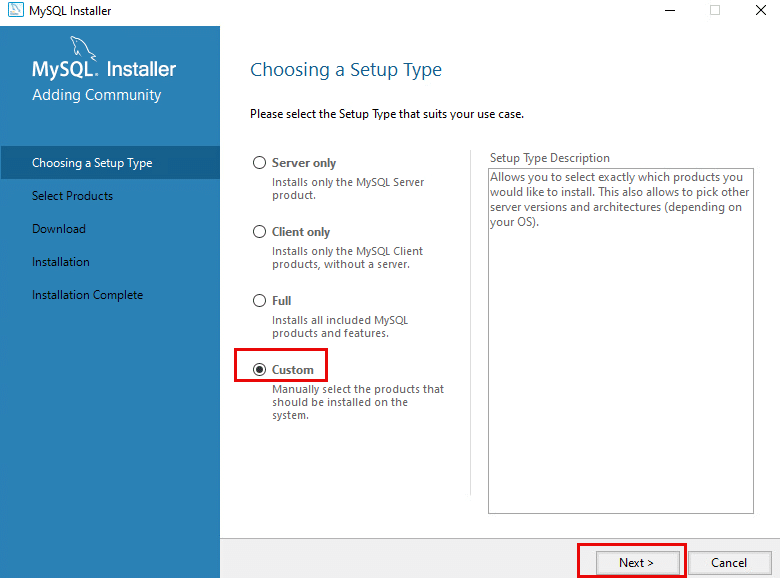
In the Choosing Setup Type window, select Custom and click Next.
Note: By selecting custom option, we can manually select the products that should be installed on the computer.
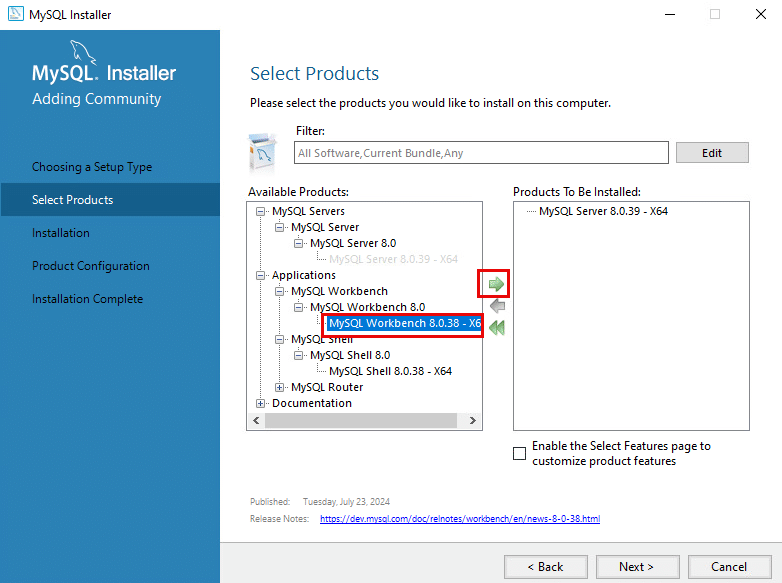
In the Select Products window, under Available products, click on the + icon next to MySQL Servers. Below that, select MySQL Server 8.0.39-x64 and click on the green arrow button.
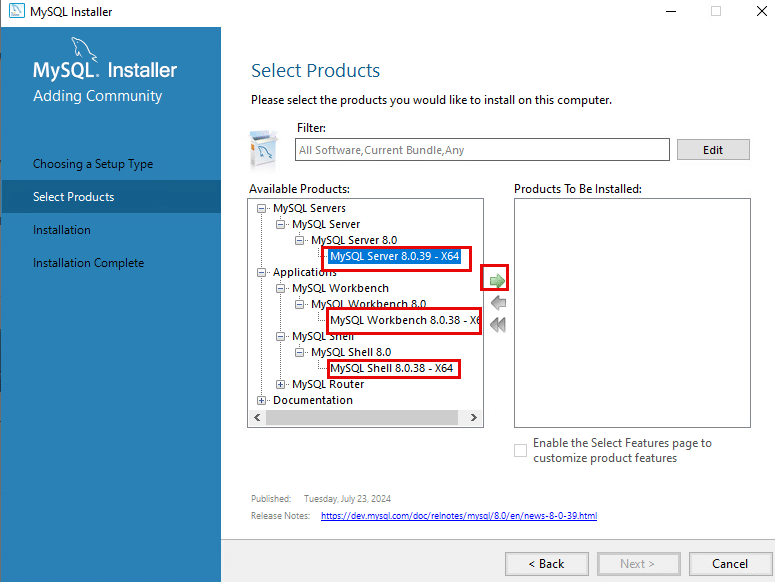
Click on the + icon next to Applications, select MySQL Workbench 8.0.38- x64 and then click on the green arrow button.
Click on the + icon next to MySQL Shell select MySQL Shell 8.0.38- x64 and then click on the green arrow button.
After adding the selected products click on Next.
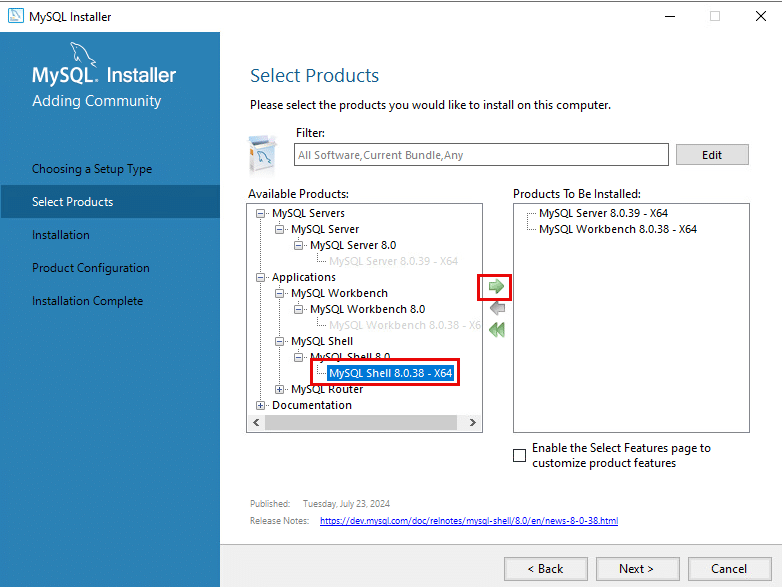
Click on the + icon next to MySQL Shell select MySQL Shell 8.0.38- x64 and then click on the green arrow button. After adding the selected products, click on Next.
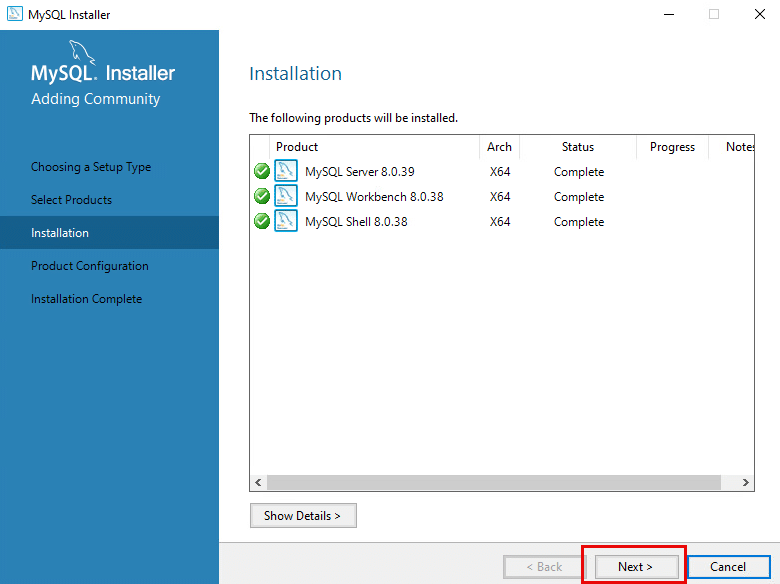
Once the installation is complete, you can see the screen below. Click on Next.
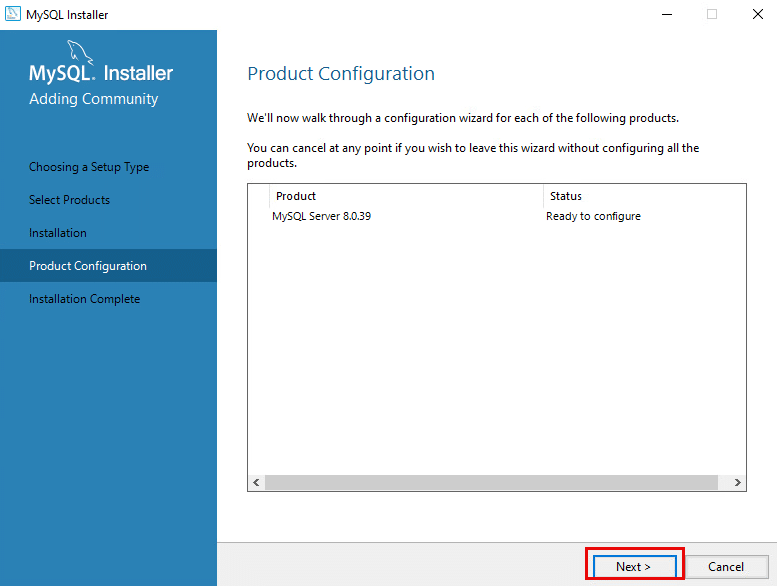
In the Product Configuration window, click on Next.
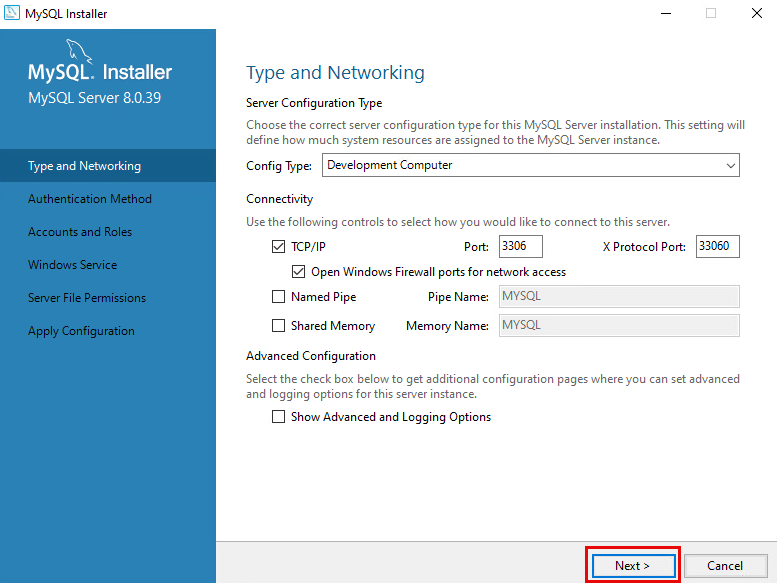
In the Type and Networking window, you can see Server Configuration Type, Connectivity, and Advanced Configuration.
Click on Next.
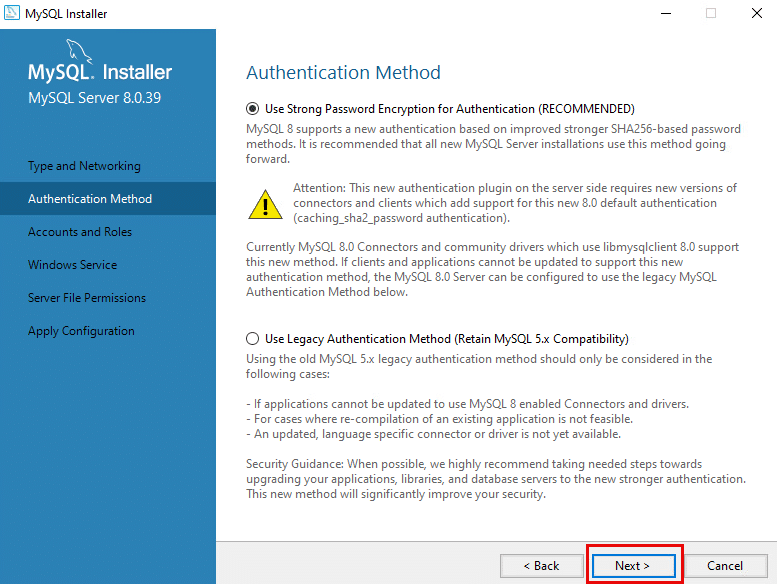
In the Authentication Method window, select Use Strong Password Encryption for Authentication (Recommended).
Click on Next.
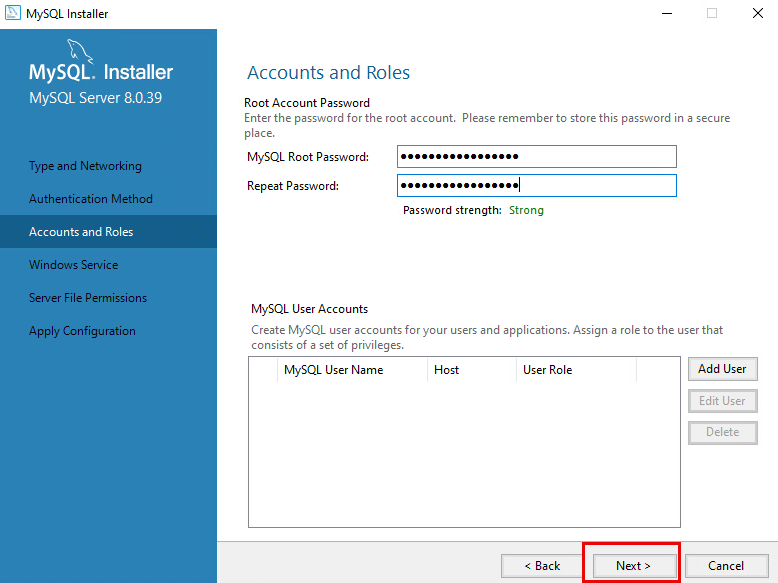
In the Accounts and Roles window, enter a strong password in MySQL Root Password and Repeat Password.
Click on Next.
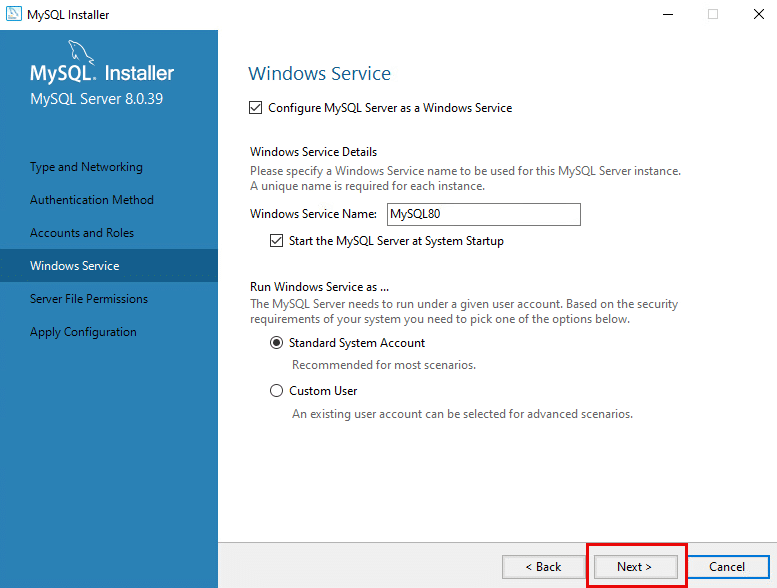
In Windows Service windows,
- check the box next to Configure MySQL Server as a Windows Service.
- check the box next to Start MySQL Server at System Startup.
- select Standard System Account.
Click on Next.
In the Server File Permissions window, select Yes, grant full access to the user running the Windows service (if applicable) and administrators group only. Other users and groups will not have access.
Click Next.

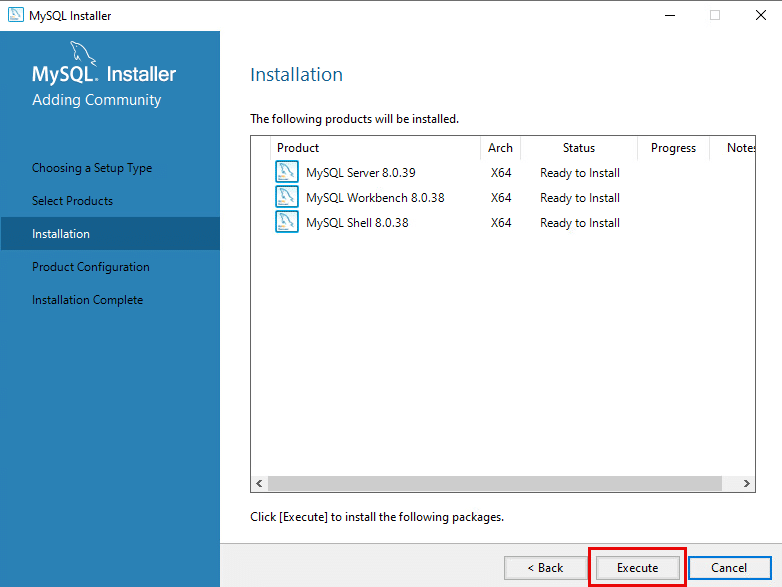
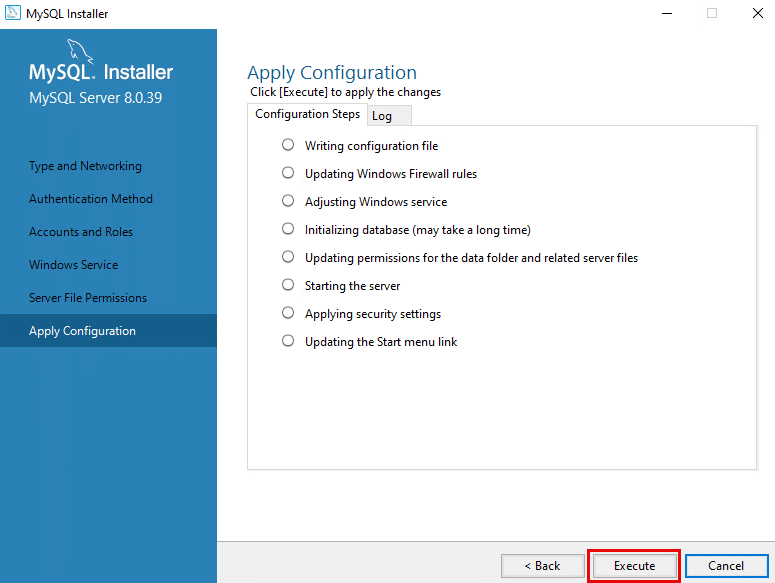
In the Apply Configuration windows, click Execute.
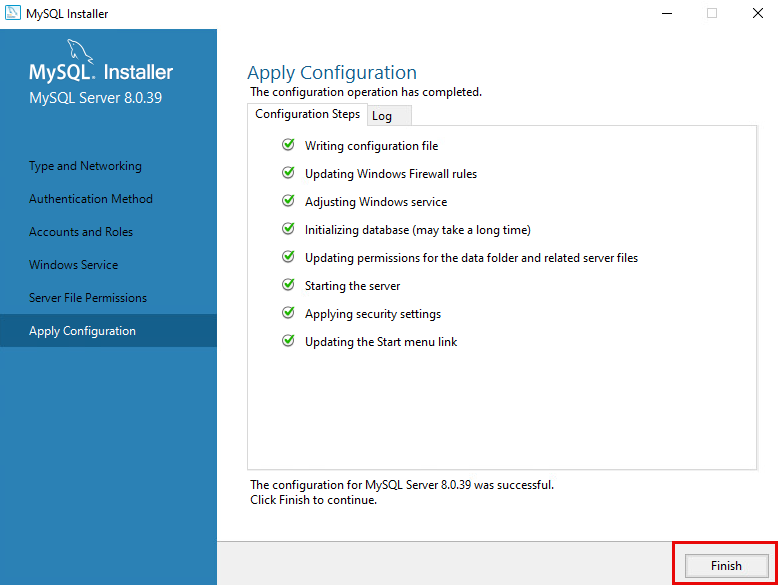
Once the configuration is successful, click on Finish.
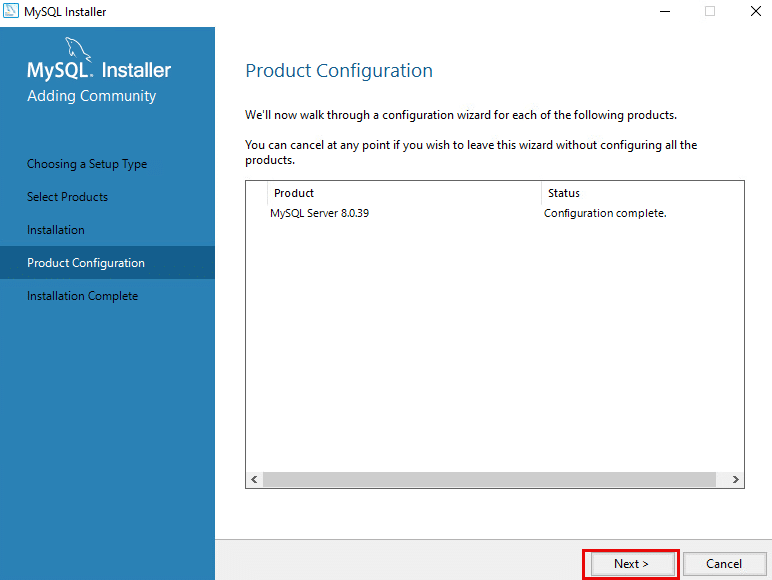
In the Product Configuration window, click Next.
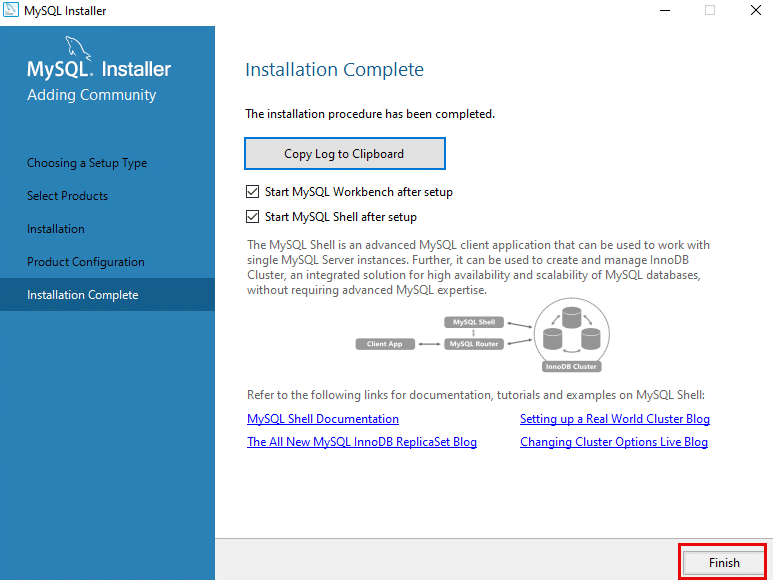
In the Installation Complete window,
- Check the box next to Start MySQL workbench after setup.
- Check the box next to Start MySQL Shell after setup.
Click Finish.
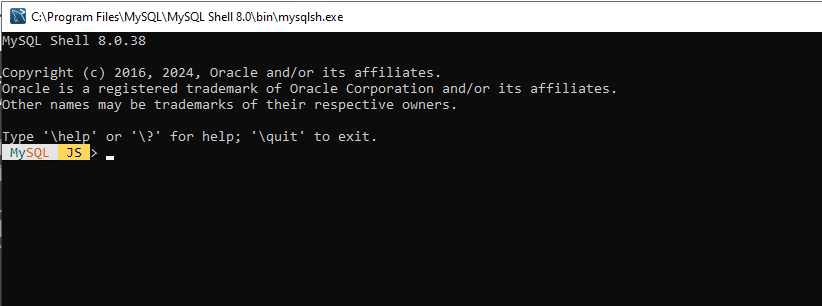
Once we click on Finish, it will navigate to the command prompt, showing the installation of MySQL Shell 8.0.38.
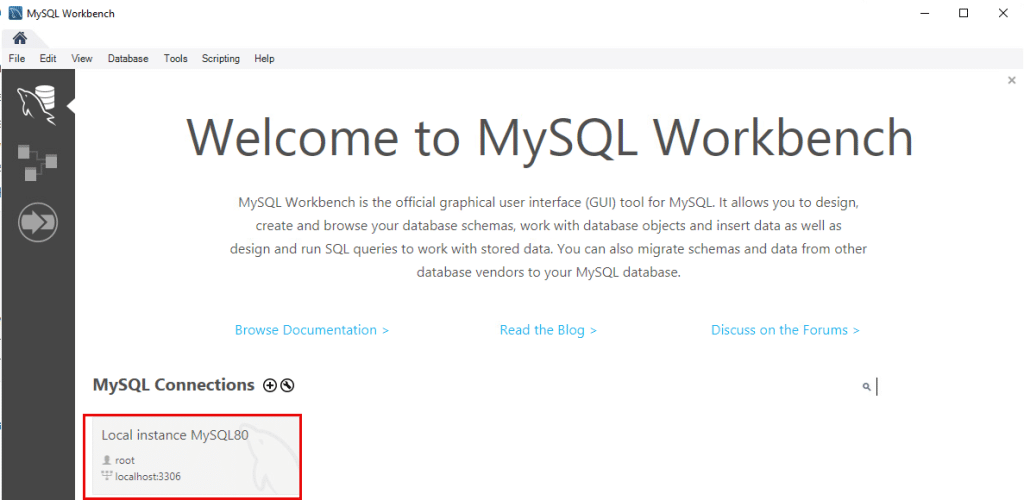
After a few seconds, it will navigate to MySQL Workbench. Here, click on Local instance MySQL8.0
Here, enter the Password that you already mentioned in step 10 (Accounts and Roles window) and check the box next to Save password in vault.

Now you are in MySQL Workbench.
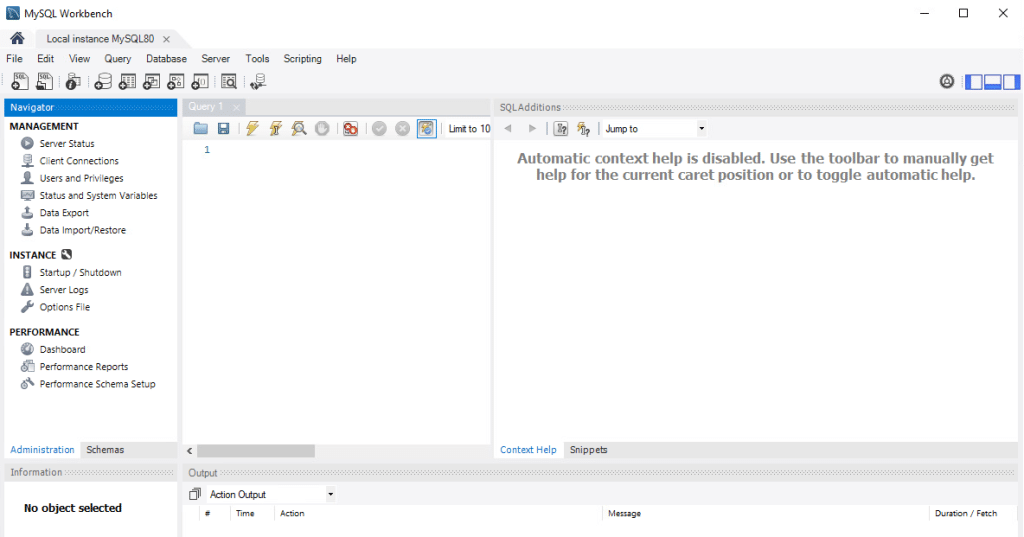
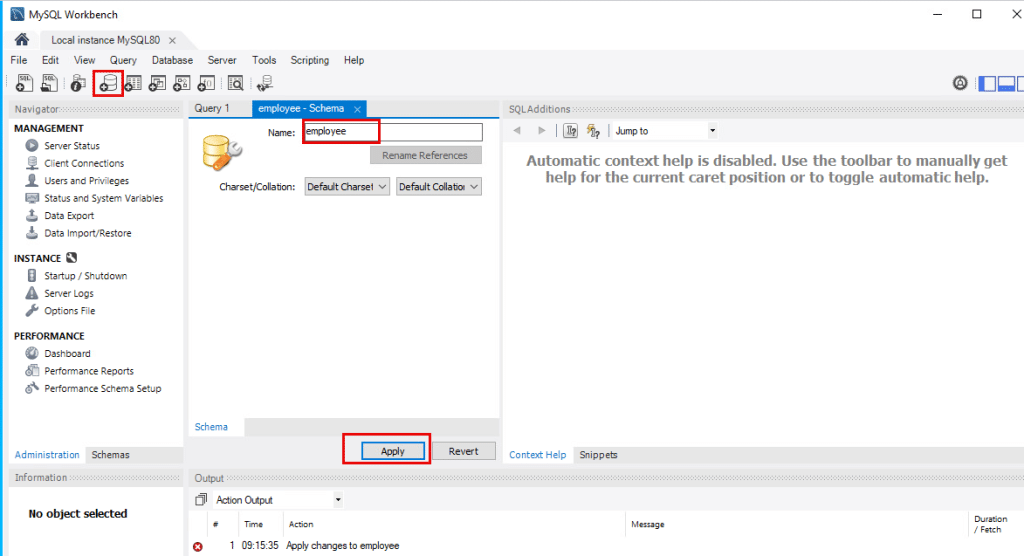
Here, you create a new schema by clicking on the Create new schema icon. Enter the name and click on Apply.
Note: Here, the name of the schema is employee.
A new window opens showing the schema that is created and click on Apply.
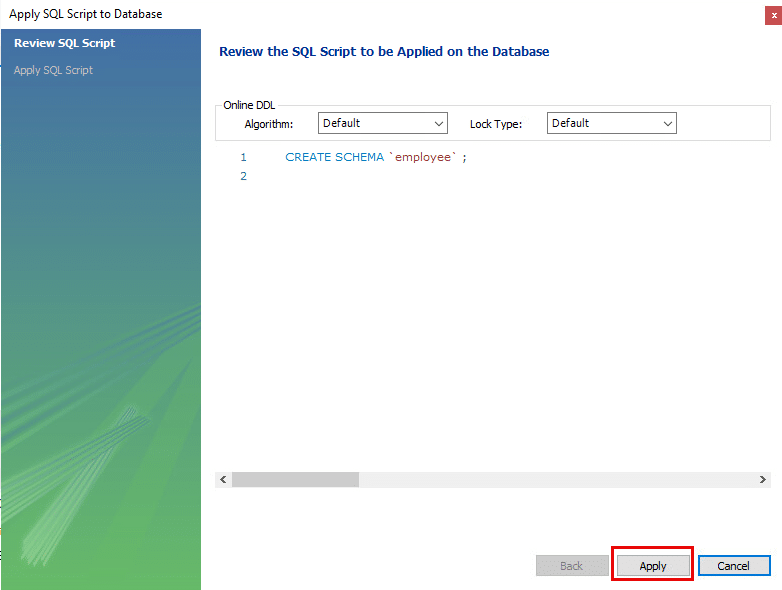
Click on Finish.

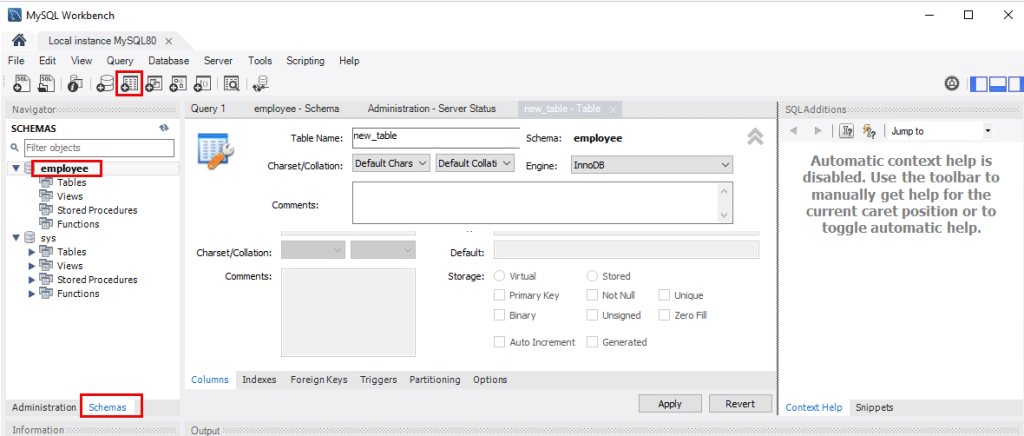
Now, in the workbench, create tables in the schema.
Click on Schemas in the bottom left corner of the window. It will show you the schemas that are created.
sys is the default schema.
Click on the drop-down menu next to yourschema_name (ex: employee), you can see Tables, views, Stored Procedures, and Functions. You can select any of them according to your requirements and fill in the information.
Note: You can also create tables using the table icon in the menu bar.
Enter the column name and set the data type by checking the boxes Primary key, Unique, etc and click Apply.
A new window “Apply SQL Script to database” opens. Here in “Review the script to be applied to the database”, click Apply. Then in “Applying SQL Script to database”, click Finish.
Now, a table ‘employee’ with one column is set.
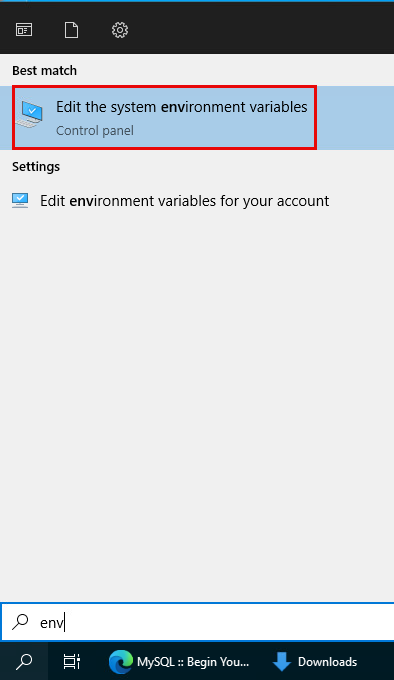
We must add the path of the MySQL in Environment Variables. To do so,
- Go to the Windows search bar, and type environment variables.
- Select Edit the system environment variables.
In the System Properties window, click on Environment Variables.
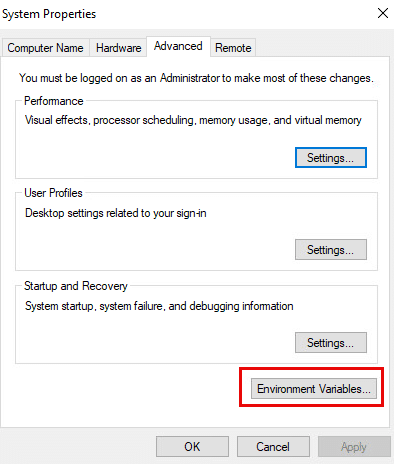
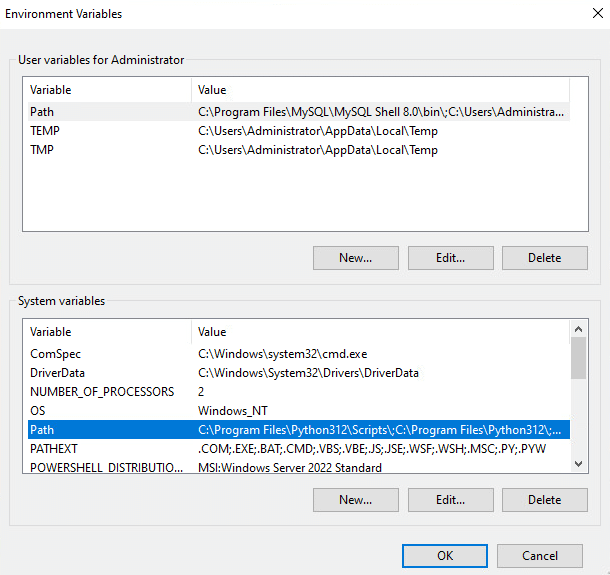
- The Environment Variables window opens.
- Under System Variables, double-click on Path (which is highlighted) and click OK.
Click on New, add the new path, and click on OK.
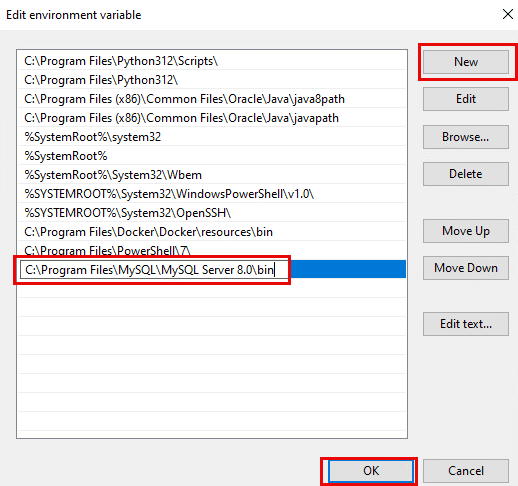
- After this, click OK in the Environment Variables window and
- Click OK under the System Properties window.
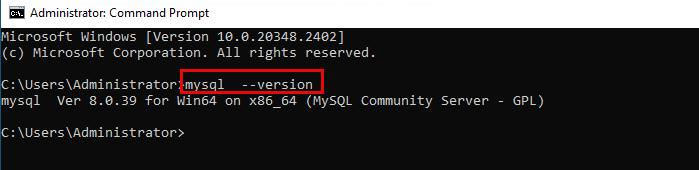
Open the command prompt by typing cmd in the Windows search bar.
Here, verify the installation of MySQL by running the below command.
Command:
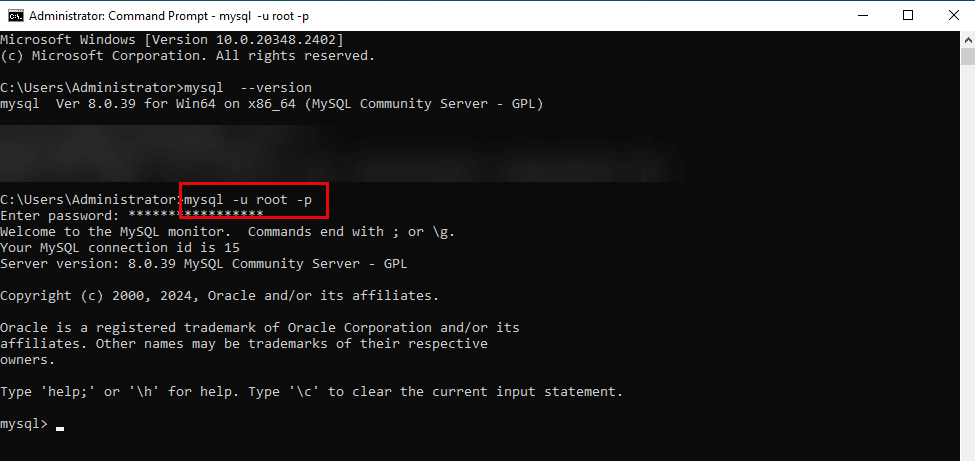
mysql --version
If it is successfully installed, you can see the message “mysql Ver 8.0.39 for Win64 on x86_64 (MySQL Community Server – GPL)”
By running the below command, you can log in to MySQL Server.
Command:
mysql -u root -p
After running this command, you will be prompted to enter a password (which is given in step 10-> Accounts and Roles window).
You can also see your MySQL connection id (here it is 15).
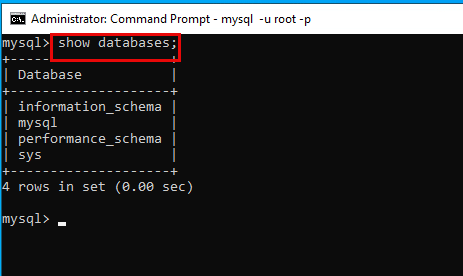
You can see if there are any databases by default by running the below command.
Command:
show databases;
Note: You can see there are no databases at present.
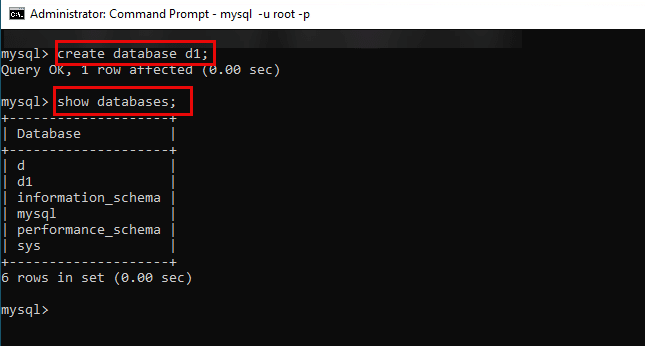
You can create a database by running the command below.
Command:
create database d;
create database d1;
- Now, run the below command to verify if the databases are added or not.
Command:
show databases;
Now, you can see d, and d1 databases are added.
And that’s it! You have learned all the steps to manage your MySQL databases on the Kamatera cloud platform.